HttpOnly cookie in Django
For authentication in a Single page application, it is a common approach to use token-based authentication where a token is sent to the backend for protected routes. Instead of storing the token in localStorage or cookie, we should use the HttpOnly cookie. By using an HttpOnly we can avoid XSS attacks on our website. In this tutorial, we will learn how to store HttpOnly cookie to the browser in Django.

In general, we can retrieve the token from the backend and store it in the localStorage but then our application will be vulnerable to XSS attacks if we are storing tokens in localStorage.
It is a common problem for many users to set the HttpOnly cookie in the browser while using Django for our backend.
In this tutorial, we will try to set HttpOnly for a React application in the browser. Same can be followed for other frameworks like Vue or Angular.
Here, we will be using a session token which is generated by Django itself. If you are interested in the JWT token in Django, you can follow this tutorial.
You can find this project on GitHub
Django setup
Let's start a Django project and then an application.
django-admin startproject cookieproject
cd cookieproject
python manage.py startapp cookieapp
Now install Dango rest framework to create APIs and Django cors headers package to enable CORS headers in our Django project.
pip install djangorestframework
pip install django-cors-headers
Now configure settings.py file in the project to use these packages.
# cookieproject/settings.py
INSTALLED_APPS = [
    # other apps ...
    'rest_framework',
    'corsheaders',
]

MIDDLEWARE = [
    'django.middleware.security.SecurityMiddleware',
    'django.contrib.sessions.middleware.SessionMiddleware',
    'corsheaders.middleware.CorsMiddleware', # new
    'django.middleware.common.CommonMiddleware',
    'django.middleware.csrf.CsrfViewMiddleware',
    'django.contrib.auth.middleware.AuthenticationMiddleware',
    'django.contrib.messages.middleware.MessageMiddleware',
    'django.middleware.clickjacking.XFrameOptionsMiddleware',
]

CORS_ALLOWED_ORIGINS = [
    "http://localhost:3000",
]

CORS_ALLOW_CREDENTIALS = True
Just because my React application or frontend will be running on localhost and port 3000 that's why I have added it in the list CORS_ALLOWED_ORIGINS. If you are using some other port, or multiple application then add it to the list.
Now run the migrations to create sessions, auth etc. table provided by the Django to perform authentication and then create a superuser which will help us to test the application from the frontend.
python manage.py migrate
python manage.py createsuperuser
Now write the views in our Django application then we will set up the routes to execute the logic through the views.
# cookieapp/views.py
from django.shortcuts import render
from django.contrib.auth import authenticate, login
from django.middleware.csrf import get_token
from rest_framework.response import Response
from rest_framework.decorators import api_view
from rest_framework import status

@api_view(['GET'])
def get_csrf_token(request):
    response = Response({"message": "Set CSRF cookie"})
    response["X-CSRFToken"] = get_token(request)
    return response

@api_view(['POST'])
def login_view(request):
    username = request.data['username']
    password = request.data['password']
    user = authenticate(username=username, password=password)
    if user:
        login(request, user)
        return Response({'message': 'User logged in'}, status=status.HTTP_200_OK)
    else:
        return Response({'message': 'Invalid username or password'}, status=status.HTTP_401_UNAUTHORIZED)
Here, we have created two view function.
get_csrf_token will be used to get CSRF token which is required by the Django to while sending a POST request for login. Without CSRF token django will not be able to set session token as HttpOnly cookie in the browser.
login_view will be used to perform actual login i.e., to set session token into browser as HttpOnly cookie.
Basically, we have to perform normal login operation by using the login() function after authenticating the user and Django will automatically sets the session token as HttpOnly cookie. We can set this token manually but Django handles all these things behind the scene very well that's why we don't need to worry about that.
We are done with the most important part, now set up the URLs.
# cookieproject/urls.py
from django.contrib import admin
from django.urls import path, include

urlpatterns = [
    path('admin/', admin.site.urls),
    path('', include('cookieapp.urls')), # new
]
Then create a new file urls.py inside cookieapp application or folder. Then put all the new URLs which will point to our view functions
# cookieapp/urls.py
from django.urls import path
from cookieapp.views import login_view, get_csrf_token

urlpatterns = [
    path('login/', login_view),
    path('csrf/', get_csrf_token),
]
We are done with the backend, let's set up the client application.
React Setup
Start a React application first. I will write the minimum possible code here for the demo.
npx create-react-app frontend
cd frontend
npm i axios
Now modify the src/App.js file and put the following code.
// src/App.js
import axios from "axios";
import { useEffect, useState } from "react";
import "./App.css";

function App() {
  const [username, setUsername] = useState("");
  const [password, setPassword] = useState("");

  useEffect(() => {
    const getCsrfToken = () => {
      try {
        const res = axios.get("http://localhost:8000/csrf/", {
          withCredentials: true,
        });
        const csrfToken = res.headers.get("X-CSRFToken");
      } catch (error) {
        console.log(error);
      }
    };
    getCsrfToken();
  }, []);

  const login = async (e) => {
    e.preventDefault();
    try {
      const res = await axios.post(
        "http://localhost:8000/login/",
        {
          username,
          password,
        },
        { withCredentials: true }
      );
      console.log(res.data.message);
    } catch (error) {
      console.log(error);
    }
  };

  return (
    <div className="App">
      <form onSubmit={login}>
        <div>
          <label>Username</label>
          <input
            type="text"
            value={username}
            onChange={(e) => {
              setUsername(e.target.value);
            }}
          />
        </div>
        <div>
          <label>Password</label>
          <input
            type="password"
            value={password}
            onChange={(e) => {
              setPassword(e.target.value);
            }}
          />
        </div>
        <input type="submit" value="Login" />
      </form>
    </div>
  );
}

export default App;
Here, we are calling an API inside useEffect() hook to get CSRF token so that immediately after mounting the component we will have the CSRF token
And then after taking the username and password from the user through our form another API is called when the form will be submitted in which we are passing username and password. Make sure to add {withCredentials: true} with the API call so that it will carry the CSRF token available in the cookie storage of our browser. Because after verification of CSRF token only Django will set the session token.
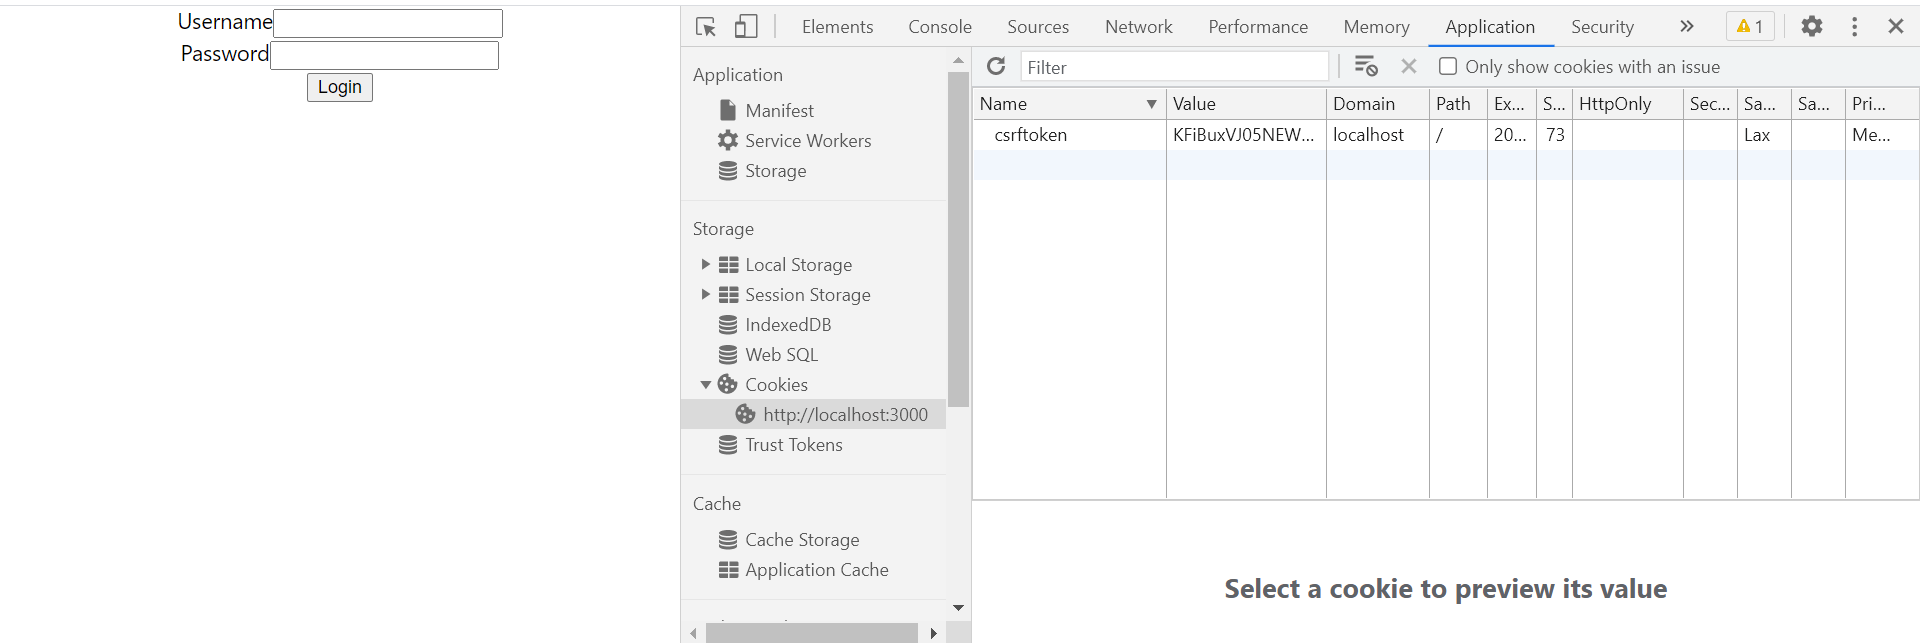
Then enter the username and password which we have created earlier (the superuser in Django) to verify the functionality.
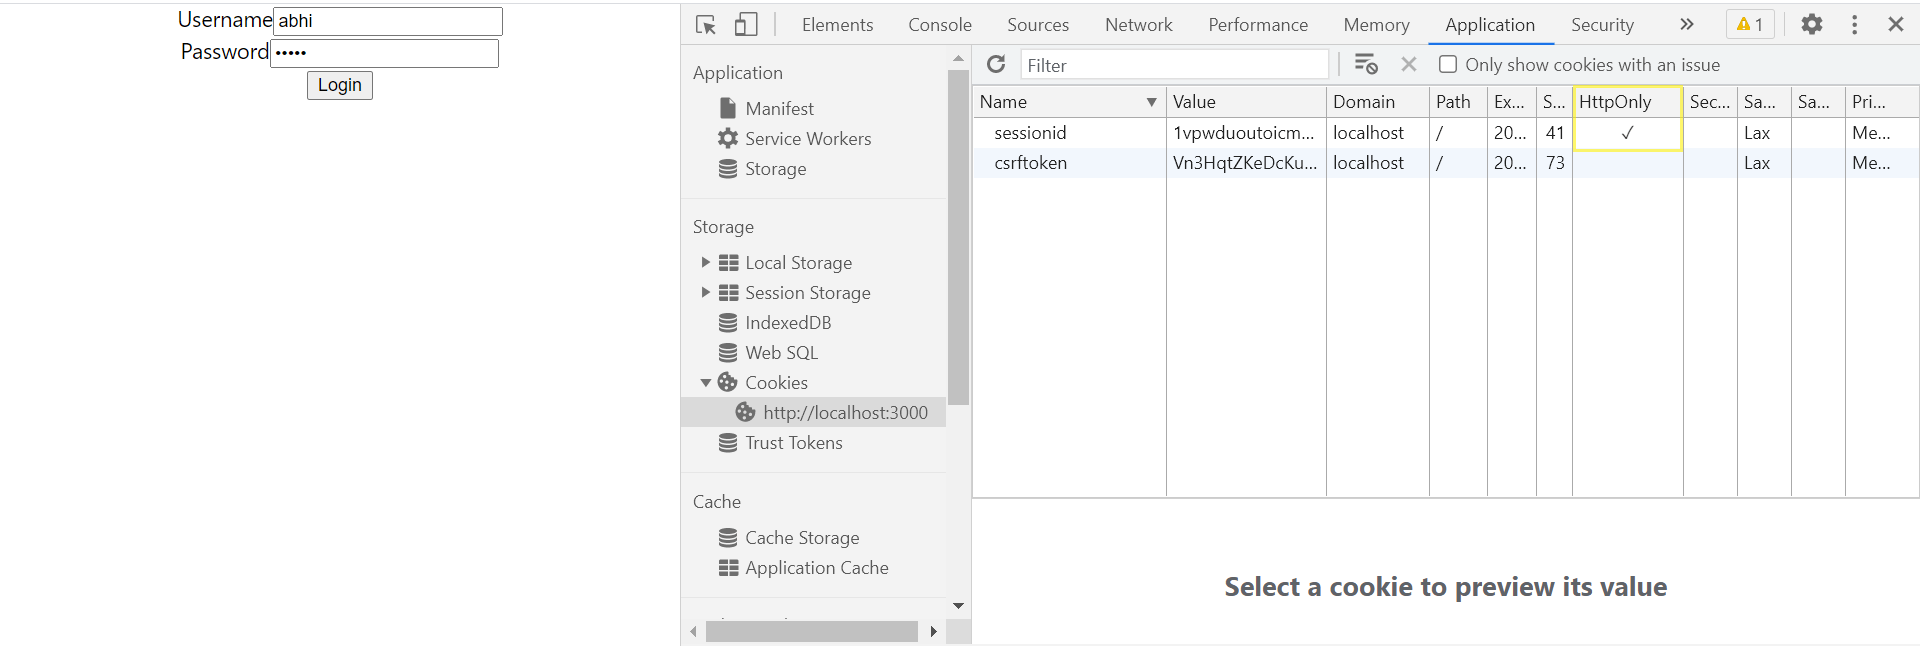
Here, you will notice that the session token is stored as HttpOnly cookie.
NOTE:
- If you are running the project locally in development then make sure use either http://localhost or http://127.0.0.1 on both frontend and backend, while calling the API and browsing the application in browser i.e., do not user separate domain name.
- To set a cookie as HttpOnly its necessary for your client and server to be on same domain otherwise it will not set.
- In production you can use either proxy URL or host backend on same domain using different subdomain like api.example.com